
The Ultimate Guide to Customizing Strip Lights: From Concept to Installation
The Ultimate Guide to Customizing Strip Lights: From Concept to Installation
If you’ve ever looked at an elegantly lit kitchen toe-kick, a color-chasing gaming setup, or a flawlessly uniform backlit feature wall and wondered, “How did they make those strip lights look so perfect?” the answer is customization. Off-the-shelf LED strip kits are fine for quick accents, but when you want professional results—consistent brightness, exact lengths, smooth diffusion, reliable dimming, and smart control—you need a custom approach.
This comprehensive guide demystifies strip light customization from end to end. Whether you’re an interior designer, a facilities manager, a maker, or a homeowner planning your first project, you’ll learn how to choose the right LED type, voltage, color, density, optics, and controllers; how to size power supplies; how to specify aluminum channels and diffusers; and how to install and troubleshoot like a pro.
What “custom strip lights” really means
- Customization can be as simple as cutting a strip to an exact length and adding a connector—or as advanced as building a multi-zone, addressable RGBW installation synchronized with music and controlled by a building automation system. Typical customization options include:
- Length and segmentation: Cutting at marked cut points, segmenting into zones, and adding custom leads or connectors.
- Voltage: 5V, 12V, or 24V strips depending on run length and control type.
- LED type and density: 2835, 3528, 5050, 2216, COB; 30–700 LEDs per meter for brightness and uniformity.
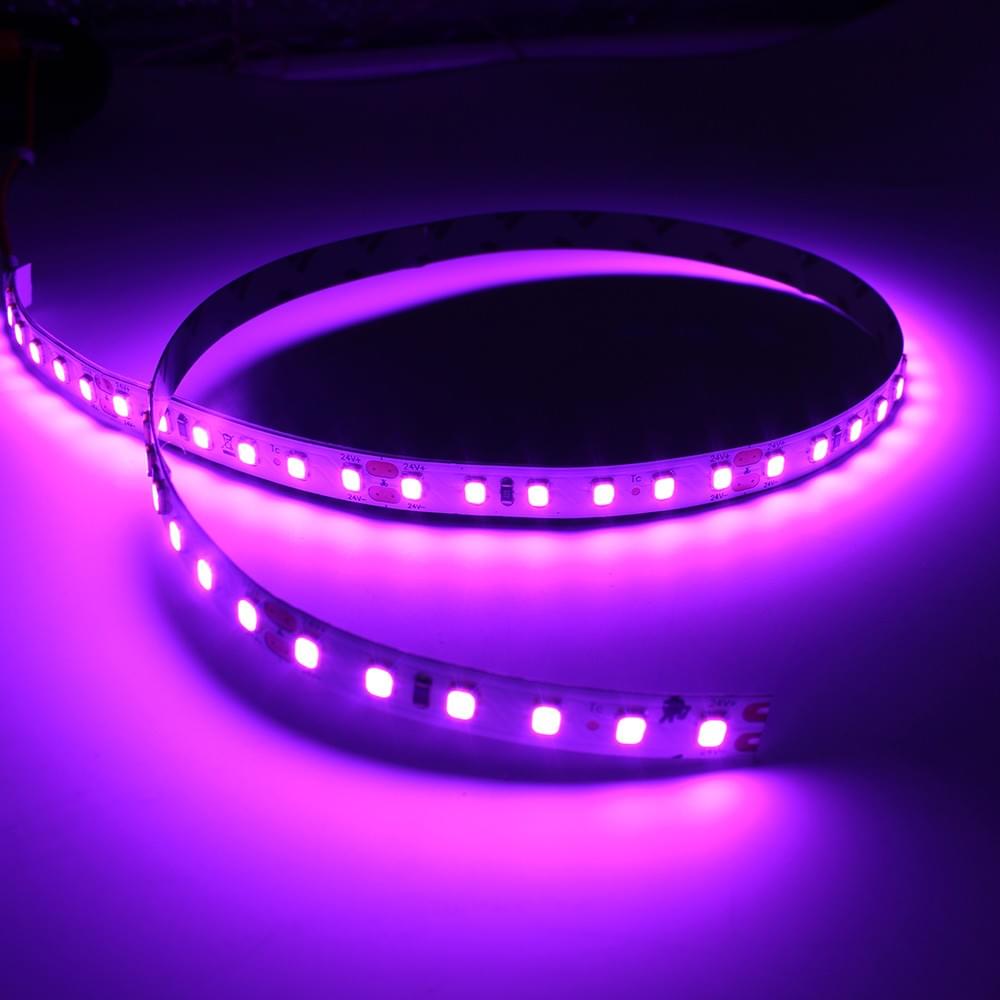
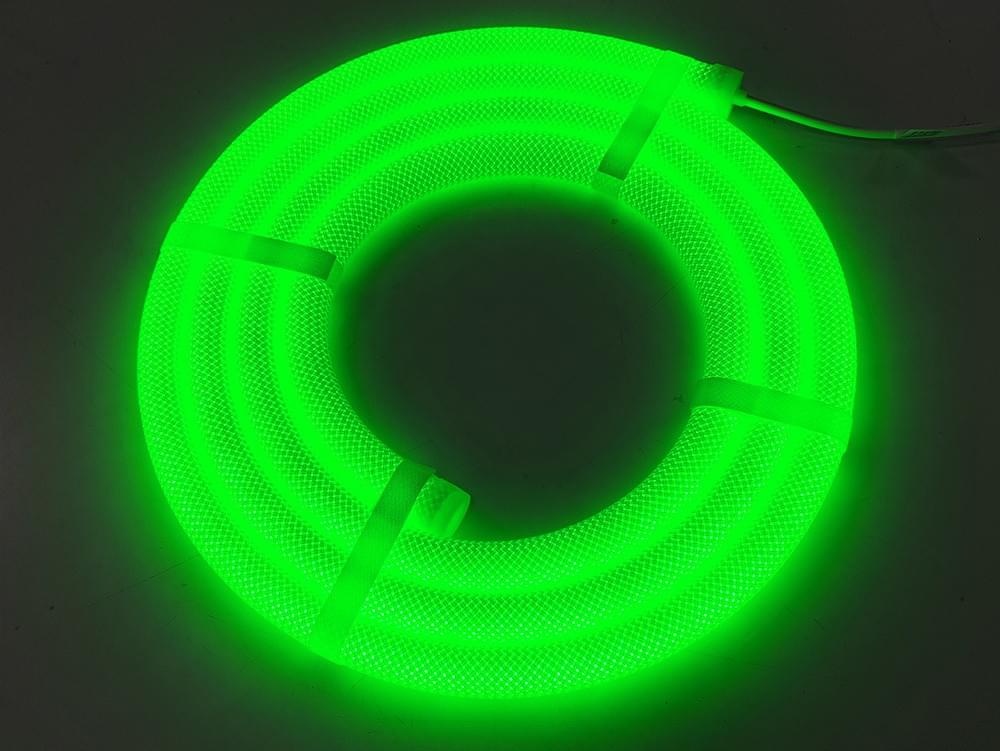
- Color and spectrum: Single CCT (e.g., 2700K), tunable white (CCT adjustable), RGB, RGBW, RGB+CCT, or addressable “IC” pixels (e.g., WS2812B, SK6812).
- Color quality: CRI and R9 for natural skin tones and vibrant reds; TM-30 fidelity and gamut where specified.
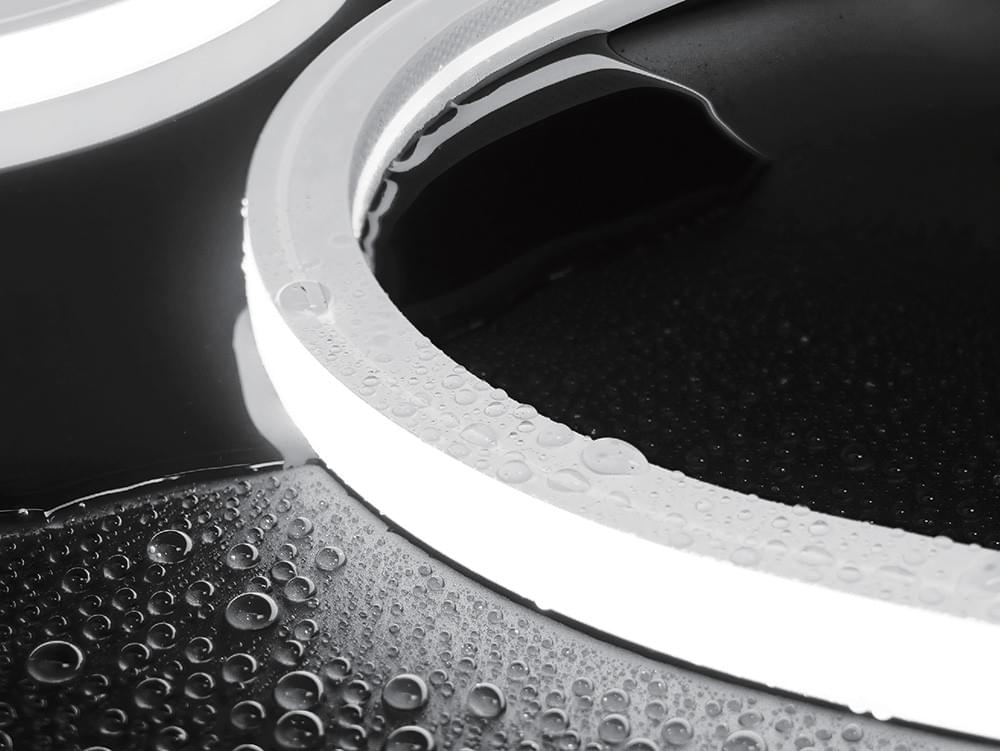
- Waterproofing: IP20 (indoor), IP54/55 (splash), IP65/67/68 (outdoor/wet).
- Physical format: PCB width, copper weight, bend radius, side-emitting vs top-emitting, cut-point spacing.
- Thermal management: Aluminum channels, heat sinks, and diffusers for lifespan and uniform glow.
- Control: Dimmers, remotes, wall controls, DMX, DALI, 0–10V, Zigbee, Wi-Fi, Matter, HomeKit, Alexa, Google.
- Power and wiring: Power supply selection, wiring gauge, injection points, and voltage drop mitigation.
- Connectors and terminations: Pre-soldered pigtails, corner joints, splitters, waterproof glands.
- Certifications: UL/ETL for North America, CE/UKCA in Europe, and RoHS for hazardous substances.
Choosing the right LED strip type
- Single-color (fixed CCT): Best where you always want the same white—under-cabinet task lighting, coves, retail shelving. Choose the CCT to match ambient lighting: 2700K for warm residential, 3000–3500K for warm-neutral hospitality, 4000K for offices, 5000K+ for workshops.
- Tunable white (CCT adjustable): Mixes warm and cool LEDs so you can dial from ~2700K to ~6500K. Fantastic for circadian-friendly homes, galleries, and restaurants that shift mood from day to evening.
- RGB: Red, green, blue channels blend to create colors; white may appear bluish or uneven.
- RGBW: Adds a dedicated white channel (often 3000K or 4000K) for better whites and higher brightness when combined with color effects.
- RGB+CCT (a.k.a. RGBCCT): Adds both dedicated white channels (warm and cool) for full color plus tunable white. Great for multipurpose spaces where you want both rich color and precise white control.
- Addressable “IC” strips: Each LED (or small group) is individually controllable for animations, chases, and effects. Look for chipsets like WS2812B, SK6812, APA102, or RGBW addressable variants (RGBW pixels yield richer whites for effects that incorporate white).
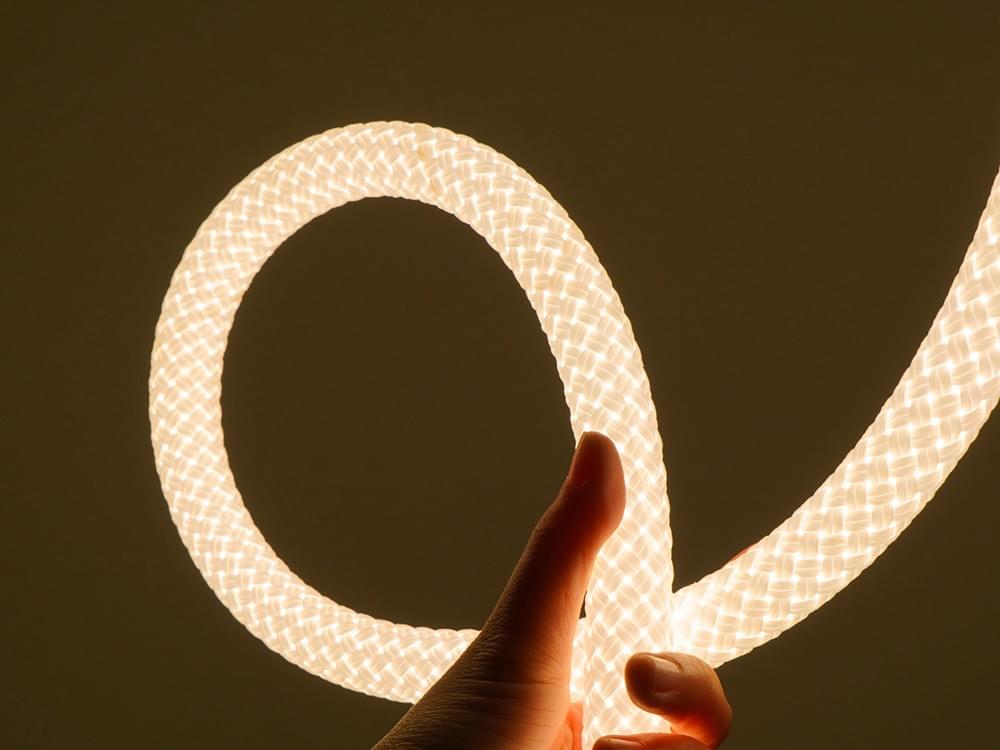
- COB strips: Chip-on-board uses densely packed LEDs under a phosphor layer for a dotless line of light even without a diffuser. Excellent for mirror backlighting, toe-kicks, and visible lines of light.
Getting brightness and uniformity right
Brightness is commonly expressed in lumens per meter (lm/m), but spec sheets often list power (W/m) and LED density (LEDs/m). Consider:
- Task vs accent: For task lighting (e.g., kitchen counters), target 600–1,000 lm/m with high CRI. For accent and cove, 200–500 lm/m is often enough.
- LED density: Higher LED counts (e.g., 120–224 LEDs/m, or COB) reduce visible “hotspots,” especially important when the strip is visible or close to a reflective surface.
- Diffusion: Use a deeper aluminum channel with an opal diffuser for a continuous line of light when using non-COB strips.
- Dimming headroom: Overspec slightly and dim to taste; running LEDs below max reduces heat and extends life.
CRI, R9, TM-30—why color quality matters
CRI (Color Rendering Index) 90+ produces more natural skin tones and materials. R9 (saturated red) above 50 is desirable for food, wood, and fabrics.
TM-30 adds fidelity (Rf) and gamut (Rg) metrics; not all suppliers publish these, but when they do, aim for Rf ≥ 85 and Rg ~ 100 for neutral rendering.
For retail and hospitality, high CRI/R9 strips dramatically improve perceived quality of merchandise and finishes.
Voltage: 5V vs 12V vs 24V
5V: Common in addressable strips; short runs; higher voltage drop; great for hobby effects, PC mods, and small features.
12V: Good balance for moderate runs; cut points are closer together, enabling precise lengths.
24V: Best for long continuous runs with less voltage drop and higher efficiency; ideal for architectural coves and commercial projects.
Rule of thumb: The longer the run and the higher the wattage, the more 24V makes sense. Even with 24V, plan for power injection on very long runs to prevent dimming at the far end.
IP ratings and where to use them
IP20: Indoor, dry locations. Highest thermal performance and easiest to install.
IP54/IP55: Dust-protected and splash-resistant; suitable for bathrooms (outside wet zones) or kitchen splashes.
IP65: Silicone sleeve or coating for outdoor eaves or damp areas.
IP67/IP68: Submersible or sustained wet environments; use for fountains or exterior features where water exposure is likely.
Note: Silicone-encapsulated strips can trap heat; derate power accordingly or use channels that help with heat dissipation.
Physical considerations: PCB width, bend radius, and cut points
PCB width: Common widths are 5mm, 8mm, 10mm, 12mm. Ensure compatibility with aluminum channels and connectors.
Copper weight: Heavier copper (e.g., 2oz) reduces voltage drop and heat, improving reliability.
Minimum bend radius: Don’t fold sharply; respect manufacturer bend specs, especially for COB and addressable strips.
Cut points: Spacing varies by voltage and density (e.g., every 25–50mm at 24V; tighter at 12V). Plan your layout so cut points land where you need them.
Thermal management: aluminum channels and diffusers
Using aluminum channels:
Extends lifespan by removing heat from LEDs and resistors.
Improves appearance with straight, professional lines.
Enables diffusion to eliminate dotting and protect the strip from dust and physical contact.
Provides mounting security and supports corner, recessed, and edge-lit profiles.
Choose from:
Surface-mount low profile: For toe-kicks, under-cabinet.
Deep/recessed: For dotless lines in direct view.
Corner profiles: For wall/ceiling junctions or under shelves.
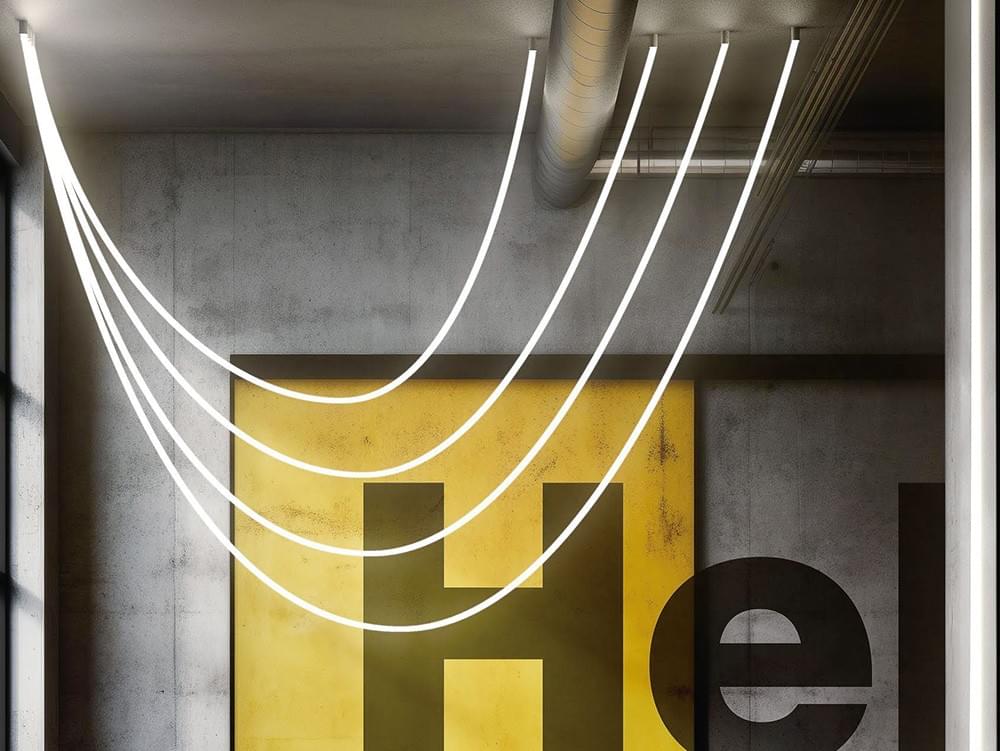
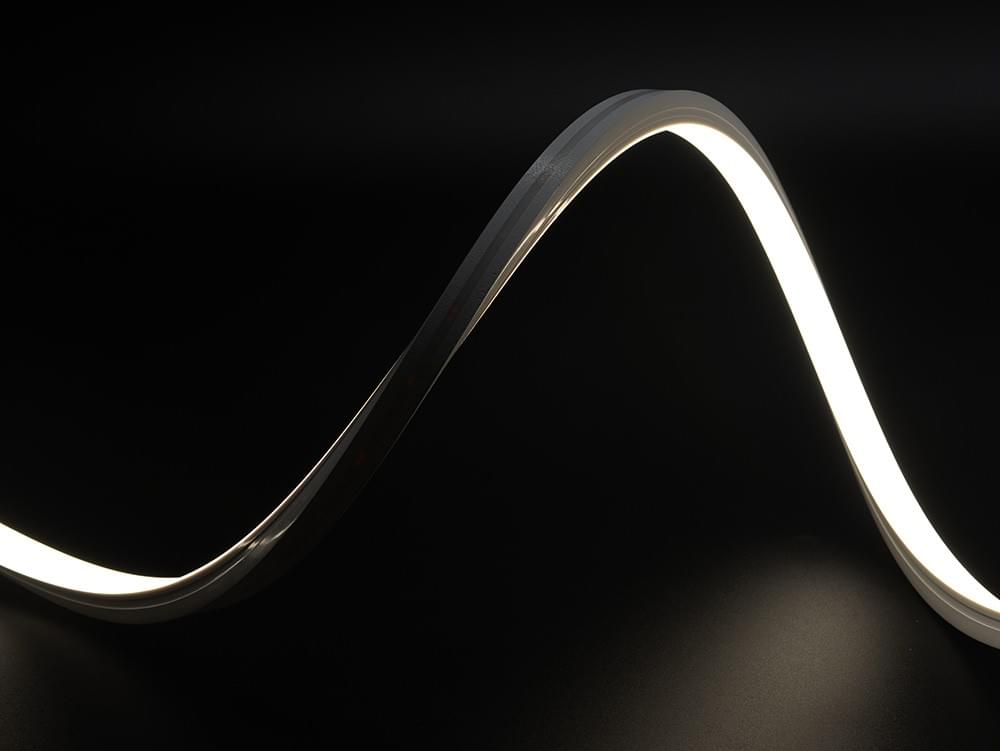
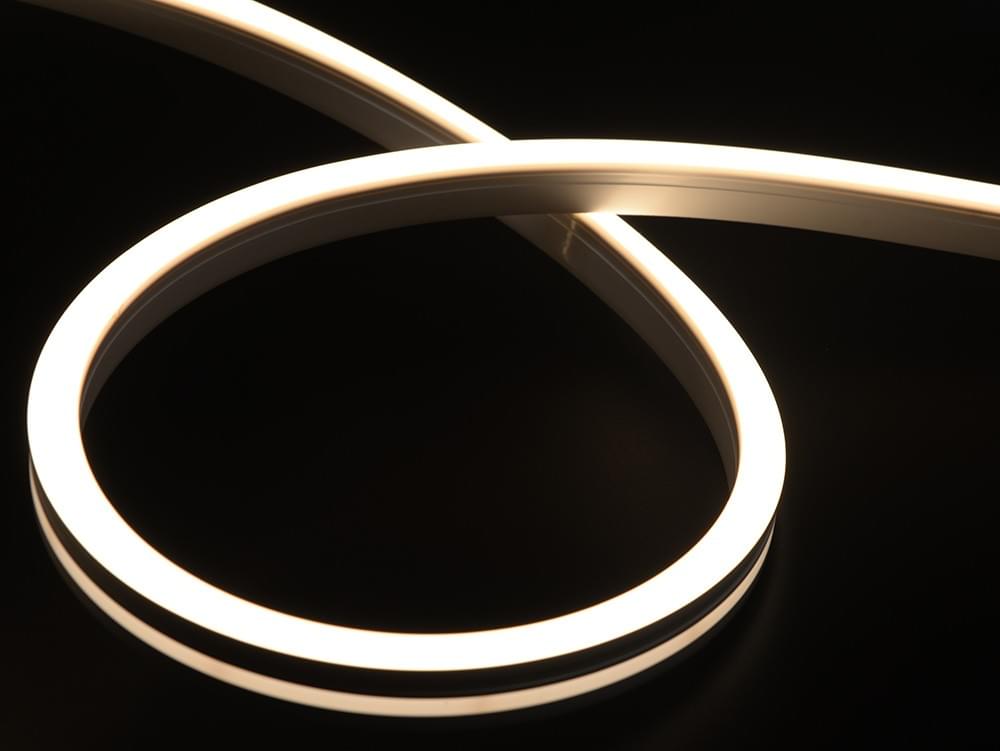
Flexible neon-style diffused housings: For curves and signage.
Controls and dimming: pick the ecosystem first
Decide how you want to control your custom strip lights before you order hardware.
Simple dimming: Inline PWM dimmers with remotes; rotary or touch wall dimmers paired with compatible receivers.
Architectural controls:
- 0–10V: Common in commercial settings. Requires 0–10V-compatible LED drivers and controllers.
- DALI: Digital Addressable Lighting Interface for building automation and per-fixture addressing.
- DMX512: Entertainment standard for stage and dynamic color control; pairs well with RGB/RGBW/Addressable.
Smart home:
Zigbee, Z-Wave, Wi-Fi, Thread/Matter. Choose devices that integrate with your hub or voice assistant (HomeKit, Alexa, Google).
For tunable white and RGBW, ensure your controller supports the exact channel count and mode (e.g., 5-in-1 for RGBCCT).
Addressable control:
- Microcontrollers (e.g., ESP32) with WLED or commercial addressable controllers supporting effects, music sync, and multiple universes.
- Pay attention to data line voltage level shifting and maximum pixels per output.
Power supplies and wiring: getting electrical right
Power budget: Total strip power (W/m × length) × 1.2 safety margin (20%) to size the driver. For multiple zones, sum each run and consider diversity if loads won’t be on full simultaneously.
Constant voltage drivers: Most strips are constant voltage. For dimming via 0–10V or DALI, use matching drivers or pair a CV driver with a compatible receiver.
Voltage drop: Use larger gauge wire for long runs, inject power at both ends or at intervals, and keep current per feed within spec. For example, with 24V strips, try to keep each feed under ~5–8A depending on wire gauge and run length.
Polarity and channel labeling: Single-color (+/–), tunable white (+/WW/CW/–), RGB (+/R/G/B/–), RGBW (+/R/G/B/W/–), RGBCCT (+/R/G/B/WW/CW/–).
Safety: In the U.S., for permanent installations, consider UL-listed strips and drivers. Use junction boxes where required, follow local electrical codes, and if unsure, consult a licensed electrician.
Planning a custom strip lights project: step-by-step
Step 1: Define the goal
Mood accent, task light, wayfinding, brand color effects, or dynamic art?
Is the strip in view or hidden? How important is dotless diffusion?
What ecosystem will control it?
Step 2: Measure and map
Sketch the area with exact lengths, corners, obstacles, and power locations.
Note surfaces: porous, metal, painted, or damp? Adhesion and mounting hardware may differ.
Mark where controllers and drivers can be hidden yet accessible.
Step 3: Choose LED spec
Color: fixed CCT vs tunable white vs RGBW/RGBCCT vs addressable.
Brightness target (lm/m) and LED density or COB for uniformity.
CRI/R9 requirements if color rendering matters.
IP rating based on environment.
Step 4: Choose voltage and channel
24V for long runs; 12V for short/precise cut points; 5V for addressable.
Match PCB width to channel/diffuser and space constraints.
Step 5: Select power and control
Calculate wattage with margin; select dimming protocol and controller.
Decide on smart integrations (Matter/HomeKit/Alexa/Google), scenes, schedules, and sensors.
Step 6: Thermal and optical accessories
Aluminum channel depth for dotless look; lens type (opal, frosted, clear).
Corner or recessed profiles as needed.
Step 7: Terminations and connectors
Pre-soldered pigtails with waterproof glands if outdoors.
Corner joiners or flexible “link” sections for turns.
Avoid push-on clip connectors in high-current or outdoor installs; soldered joints are more reliable.
Step 8: Documentation and labeling
Create a bill of materials (BOM), wire diagram, and label each run. Document lengths and cut points for reorders.
Sample BOM for a custom kitchen under-cabinet project
LED strip: 24V, 3000K, 90+ CRI, 120 LEDs/m, 10 W/m, IP20, 8mm PCB; total 7.6 m across four runs.
Aluminum channel: Low-profile surface-mount with opal diffuser; pre-cut lengths with end caps.
Driver: 24V constant voltage, 120W (7.6 m × 10 W/m = 76 W; add 20% = 91 W; choose 120 W for headroom).
Controller: Zigbee or Matter-enabled CV dimmer compatible with the home’s hub; wall switch remote.
Wiring: 18 AWG for short feeds; distribution block near the driver; adhesive plus screws for channels.
Accessories: Pre-soldered pigtails on each run; heat-shrink; cable clips; alcohol wipes for surface prep.
Installation best practices for custom strip lights
Surface prep
Clean with isopropyl alcohol; ensure dry, dust-free surfaces.
For porous or rough surfaces, use mounting clips or channels instead of relying solely on adhesive.
Mounting
Dry fit channels and mark screw holes. Use countersunk screws where visible.
Snap in diffusers after wiring and testing to avoid fingerprints and damage.
Cutting and soldering
Cut only at designated cut marks.
Tin pads lightly and use flexible silicone-insulated wire for tight spaces.
Heat-shrink over joints; for outdoor, use silicone sealant and waterproof sleeves.
Wiring and power injection
Keep runs within recommended lengths to avoid dimming at the tail.
For long runs, feed from both ends or the middle and end; balance current paths.
Route low-voltage wiring away from high-voltage lines to minimize interference.
Controller setup
Update firmware if applicable; name zones clearly (e.g., “Upper Cabs Left”).
Set default power-on behavior and maximum brightness limits to extend lifespan.
Create scenes for task (100%), prep (70%), evening (30%), nightlight (5%).
Commissioning
Check polarity on every run before powering up.
Verify uniform brightness and color along the entire length.
Record final configuration and store spare diffusers and end caps.
Customizing addressable strip lights (for effects and art)
Addressable strips unlock advanced animations for media rooms, gaming setups, bars, and events.
Key choices
Pixel type: WS2812B/SK6812 (single-wire) vs APA102 (two-wire, higher refresh).
Pixel density: 30–144 pixels/m; higher density yields smoother gradients but higher power draw.
RGB vs RGBW addressable: RGBW adds a dedicated white LED per pixel for better whites and pastel effects.
Controller: WLED on ESP32 is popular for DIY; professional controllers for large installations. Ensure proper level shifting for 5V data lines when driving long cables.
Power: Estimate 60 mA/pixel at full white (RGB on) for conservative sizing; in practice, most effects run far lower, but plan injection points every 1–2 meters for high-density strips.
Tips
- Use data line resistors and capacitors as recommended by your controller firmware.
- Consider differential data transmitters for long runs to prevent signal degradation.
- For audio-reactive scenes, mount a microphone away from speakers or use line-in.
Cost drivers and how to budget a custom strip lights project
- LED quality: High-CRI, COB, and premium phosphors cost more.
- Density and wattage: More LEDs and higher brightness increase both strip and driver costs.
- Waterproofing and channels: IP67 jackets and deep aluminum profiles add significantly to price.
- Control ecosystem: Professional DMX/DALI gear and multi-zone smart controllers cost more than simple dimmers.
- Labor: Soldering pigtails, corner joints, and precision installation can exceed hardware costs—budget accordingly.
Rule of thumb: For residential-quality custom strip lighting with aluminum channels and smart dimming, expect 20–20–20–60 per meter for hardware only; professional commercial installs with deep channels, high CRI, and controls can reach 100–100–100–200+ per meter including labor. Prices vary widely by region and specification.
Safety, codes, and certifications
Listings: In the U.S., look for UL-listed (or ETL) strips and drivers for permanent installations. This helps with inspections and insurance.
Low-voltage wiring: Use properly rated Class 2 power supplies where applicable; keep drivers accessible for service.
Heat: Avoid covering strips with insulation or sealing in dead-air spaces without heat sinking.
Wet locations: Use IP67+ components, gel-filled connectors, and drip loops; place drivers in weatherproof enclosures.
Maintenance and lifespan
Expect quality strips to last 30,000–50,000 hours when properly cooled and driven within spec.
Periodically wipe diffusers and check for adhesive lift, especially in kitchens.
Keep spare segments and diffusers from the same production batch to ensure color consistency in future repairs.
If you notice color shift or dimming at the tail, inspect for loose connections or voltage drop; consider adding injection points.
Common mistakes to avoid
Underestimating power: Ordering a driver that exactly matches calculated wattage leaves no headroom; aim for +20–30%.
Skipping channels: Mounting strips without an aluminum profile in warm or enclosed spots shortens lifespan and creates dotting.
Mixing CCTs: Combining 2700K task lighting with 4000K ambient creates color mismatch. Match or deliberately layer with intent (e.g., tunable white).
Over-relying on clip connectors: These are fine for light-duty use; solder joints are more reliable for permanent or high-current runs.
Ignoring control compatibility: Not all smart controllers support RGBCCT or addressable protocols. Verify before you buy.
Tight bends: Kinking the strip at corners breaks traces. Use corner connectors, flexible sections, or mitered channels.
Example design scenarios
Minimalist toe-kick and stair lighting
24V COB, 2700K, 8–10 W/m in low-profile channels. Motion-activated scenes via a smart sensor. Dotless glow without visible hotspots.
Gallery cove with high color fidelity
24V, 4000K, CRI 95+, 14–16 W/m in deep recessed channels with opal diffusers. DALI control for dimming curves and per-zone scheduling.
Outdoor pergola with warm ambiance
24V, 3000K, IP67 silicone-encapsulated strips inside aluminum channels with UV-stable diffusers. Weatherproof driver enclosure. Zigbee or Matter control with scenes.
Gaming room with addressable effects
5V or 12V addressable RGBW at 60–96 pixels/m, aluminum channels behind diffusers for a neon-like line. WLED controller, Ethernet-to-Serial bridge for low latency, and power injection at 1–2 m intervals.
Retail shelving with punchy whites and brand color accents
24V RGBW (4000K white) at 14 W/m for color plus crisp white. 0–10V for white channel task lighting; DMX for color scenes during promos.
How to request a custom strip lights order from a supplier
Prepare this checklist:
Project type and environment (indoor dry, damp, outdoor).
Voltage (5V/12V/24V) and total length per run.
LED spec: type (COB/2216/5050), density (LEDs/m), CCT or RGBW/RGBCCT, CRI target.
Brightness target or W/m, and diffusion goals (dotless or not).
IP rating and PCB width.
Power supply and control method (dimmer type, smart ecosystem, DMX/DALI/0–10V).
Terminations: pre-soldered leads length, connector types, waterproof glands.
Accessories: aluminum channels, diffuser type, mounting clips, corner pieces.
Documentation: labeled segments, wiring diagram, test/aging requirements, and certifications.
Ask for:
Photometric data (lm/m), CRI/R9, and binning for CCT consistency (e.g., 2–3 SDCM).
Voltage drop specs and maximum recommended run lengths.
Warranty terms and lead time.
Frequently asked questions about custom strip lights
Q: What’s the difference between RGB and RGBW strips?
A: RGB uses red, green, and blue LEDs to create colors, but its white is a mix that can look cool/blue. RGBW adds a dedicated white LED for brighter, cleaner whites and better pastels.
Q: Do I need 24V instead of 12V?
A: If your runs exceed ~3–5 meters at moderate/high power, 24V typically reduces voltage drop and wiring thickness. For very short runs or tight cut-point spacing, 12V is fine.
Q: How do I get a dotless, neon-like line of light?
A: Use COB strips or pair high-density strips with a deeper aluminum channel and an opal diffuser. Maintain consistent setback from the viewing surface.
Q: Can strip lights be hardwired to a wall switch?
A: Yes. Use a compatible low-voltage driver on a non-dimming wall switch, or a dimmable driver if you’re using 0–10V, TRIAC, or DALI. Never put a non-dimmable driver on a dimming switch.
Q: Are addressable strips safe for permanent installs?
A: Yes if designed correctly: proper power injection, fusing per branch, level shifting for data, and adequate heat sinking. Use UL-listed power supplies and follow low-voltage wiring best practices.
Q: How important is CRI for kitchens and bathrooms?
A: Very. High CRI (90+) and good R9 make food, skin, and materials look their best. It’s one of the most noticeable quality upgrades.
Q: What’s the lifespan of quality custom strip lights?
A: With proper heat sinking and moderate drive currents, 30,000–50,000 hours is common. That’s many years in typical residential use.
Q: Can I mix different strip types on one controller?
A: Only if the controller supports the same channel configuration and voltage for each output. For example, running both RGBW and tunable white from a single multi-channel controller is possible if it’s designed for 5-in-1 control.
Q: How do I prevent color shift along a long RGBW run?
A: Use power injection and feed from both ends; use heavier copper PCB strips; limit run length per feed; ensure controller channels deliver equal current.
Quick specification templates you can copy
Residential toe-kick accent
24V COB, 2700K, 8–10 W/m, CRI 90+, IP20, low-profile aluminum channel with opal diffuser; simple PWM dimmer and 24V driver sized at +30%.
Kitchen task under-cabinet
24V, 3500K, 120–168 LEDs/m, 12–16 W/m, CRI 90+, IP20, deep channel for dotless; smart dimmer compatible with your hub; driver sized with +20% headroom.
Hospitality cove lighting
24V, 3000K or tunable white, 10–14 W/m, CRI 90+, IP20/54; DALI or 0–10V dimming; aluminum channel recessed with opal lens; accessible driver compartment.
Outdoor soffit
24V, 3000K, IP67, 10–14 W/m; aluminum channel with UV-stable diffuser; weatherproof driver enclosure; photocell/timer control.
Brand-color feature wall (effects)
Addressable RGBW, 12V, 60–96 px/m; WLED controller; power injection every 1.5–2 m; deep diffuser for neon effect; fused distribution.
Troubleshooting guide
One end is dimmer than the other
Cause: voltage drop. Fix: shorten runs, add power injection, use thicker wire, or move to 24V.
Colors don’t match between runs
Cause: different LED bins or mixing lots. Fix: purchase from one batch; specify SDCM tolerance.
Flicker at low dimming levels
Cause: incompatible dimmer/driver or low PWM frequency. Fix: use matched components; choose higher PWM frequency controllers.
Random color changes on addressable strips
Cause: data corruption from long cables or EMI. Fix: add level shifter, shorten data lines, add termination resistor, or use differential signaling.
Adhesive failure
Cause: dirty surface, heat, or weight. Fix: clean properly; use channels or additional clips; consider mechanical fasteners.
Final checklist before you order custom strip lights
- Confirm final lengths with cut-point alignment.
- Verify voltage, wattage, and driver headroom.
- Choose the right control protocol and test compatibility.
- Specify CRI/CCT or RGBW/RGBCCT exactly; ask for samples if color is critical.
- Select aluminum channels and diffuser types for the visual finish.
- Plan power injection and wire gauges; include connectors and glands.
- Ensure certifications (UL/ETL) for your region, especially for permanent installs.
- Document everything—drawings, labels, and a wiring diagram.
Conclusion
Custom strip lights turn ordinary spaces into tailored, functional, and beautiful environments. With the right choices—LED type, brightness, spectrum, optics, control, and power—you can achieve professional results that are reliable, efficient, and visually stunning. Use this guide as your blueprint to specify, budget, order, and install custom strip lights with confidence.
If you’d like, tell me about your space and goals, and I’ll draft a precise spec (lengths, voltage, LED density, CRI/CCT, IP rating, channels, controller, and driver sizing) you can hand directly to a supplier.